| Part Name: | Module – Genesis Charge Socket |
| Part Number: | MD2016 |
| Model: | Genesis Pro / Genesis FEC |
Start by powering off the phaser by inserting the key into the slot in the back sensor. The phaser is off when all the lights have turned off.
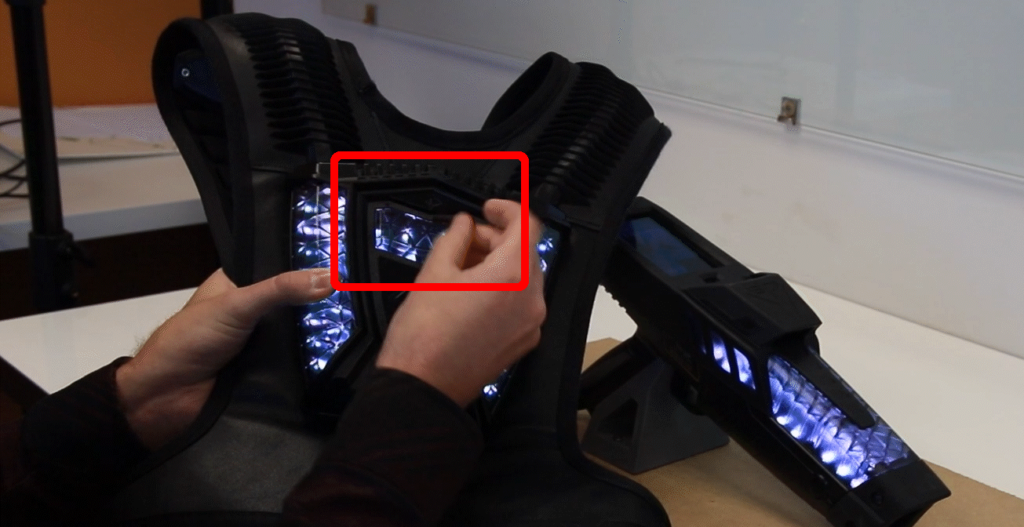
Undo the buckle strap by feeding the strap through the loops until it is completely undone.
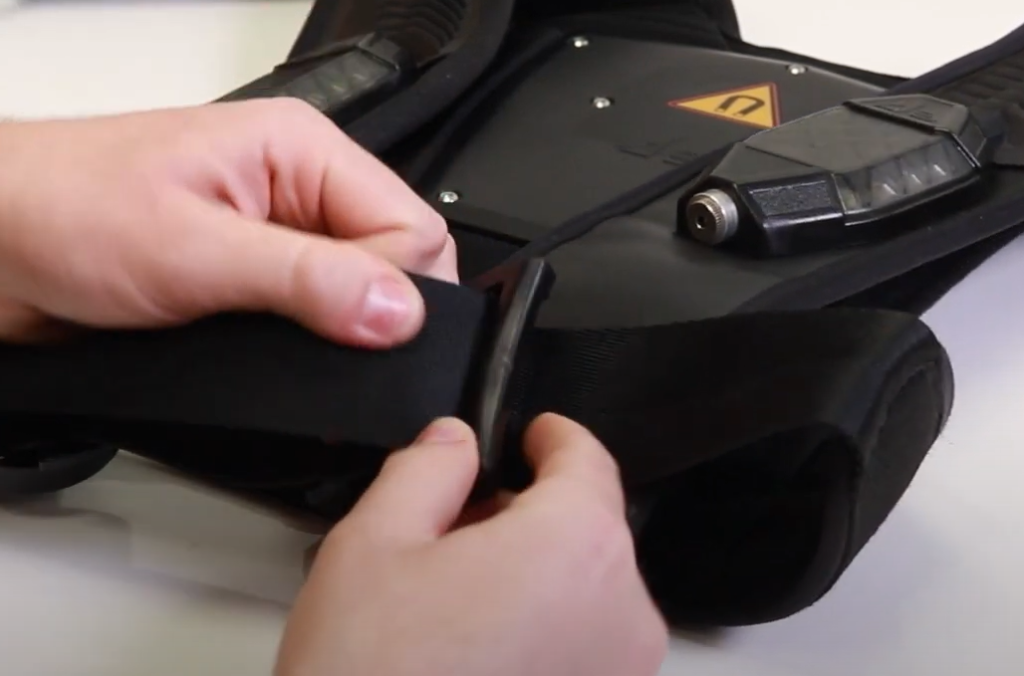
Flip the shoulder strap over to reveal the back plate of the front sensor.
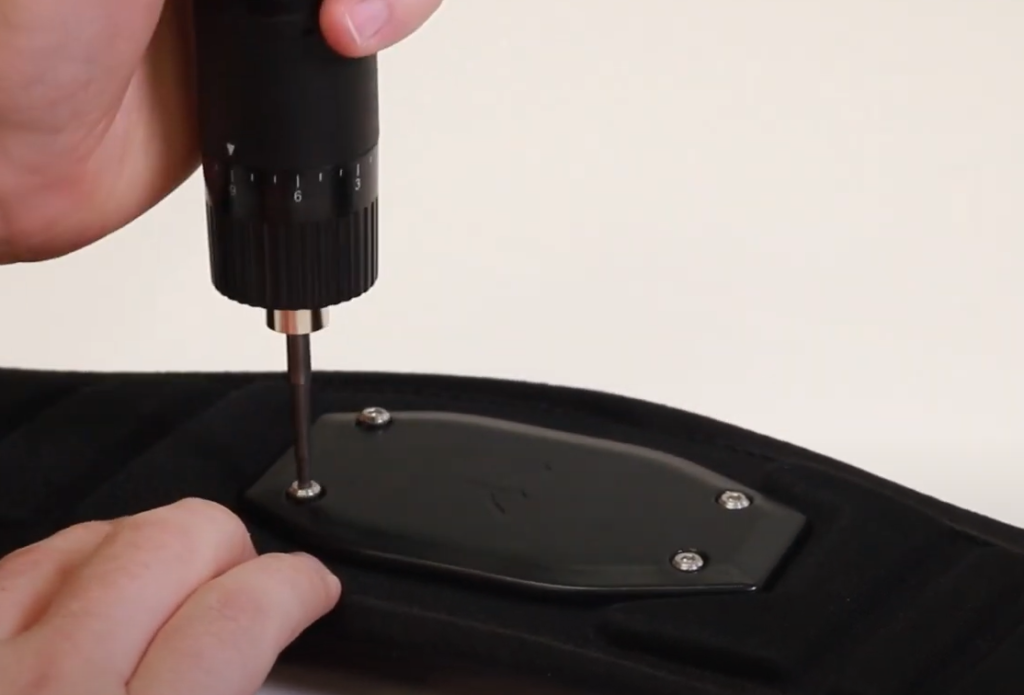
Use the hex driver to undo the screws on the plate. Ensure that it is set to 9, and the direction in in reverse.
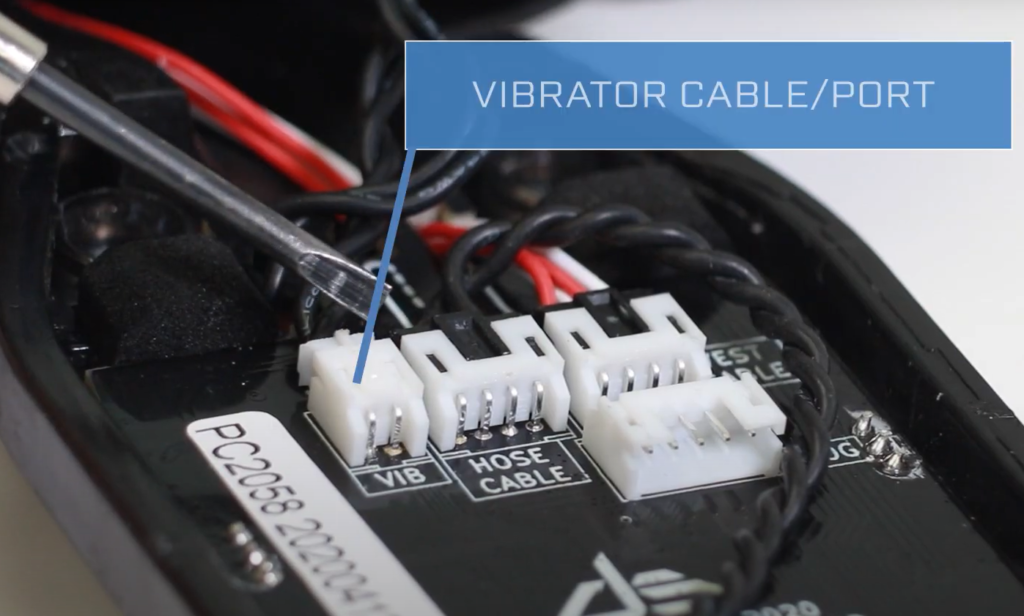
There three cables plugged into the PCB: The Vibrator, The Hose Cable, and The Vest Cable. Carefully take out all of these. To safely remove the cables, pull them straight out of the plug in the direction the are plugged in.
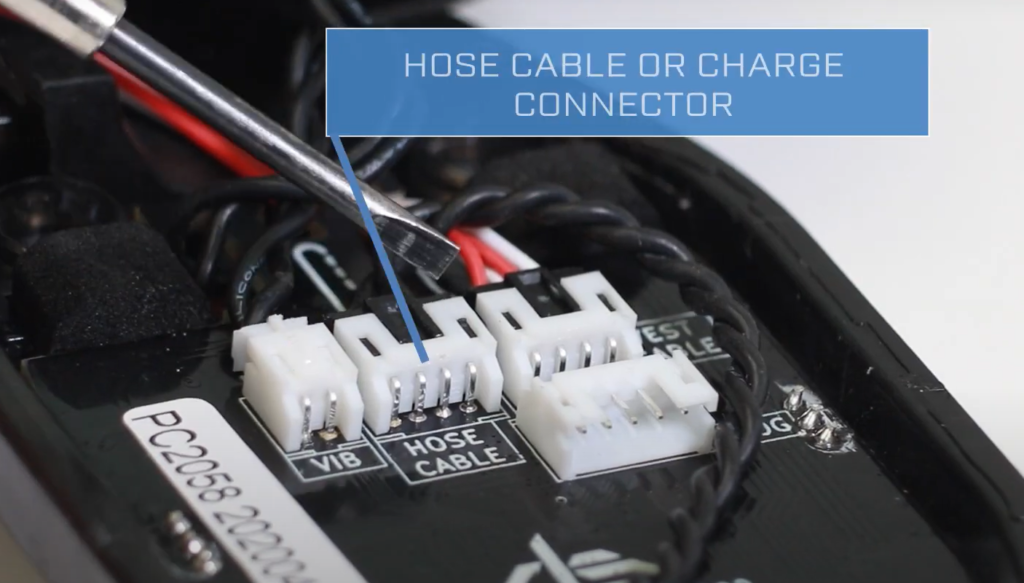
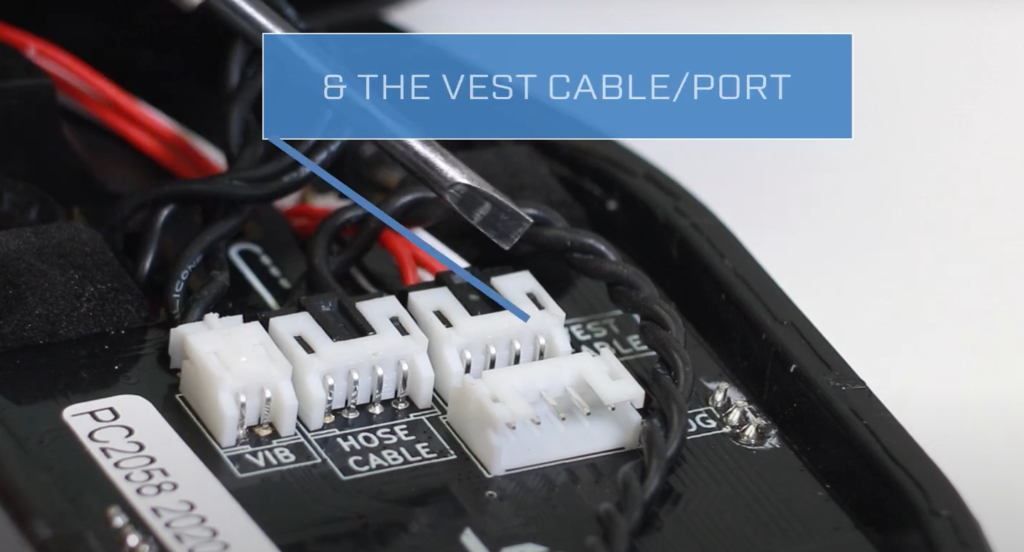
You now have access to the nut and charge socket. Loosen the nut with a flat head screwdriver, then loosen and remove by hand. Replace with a new charge socket, then screw back in and tighten.

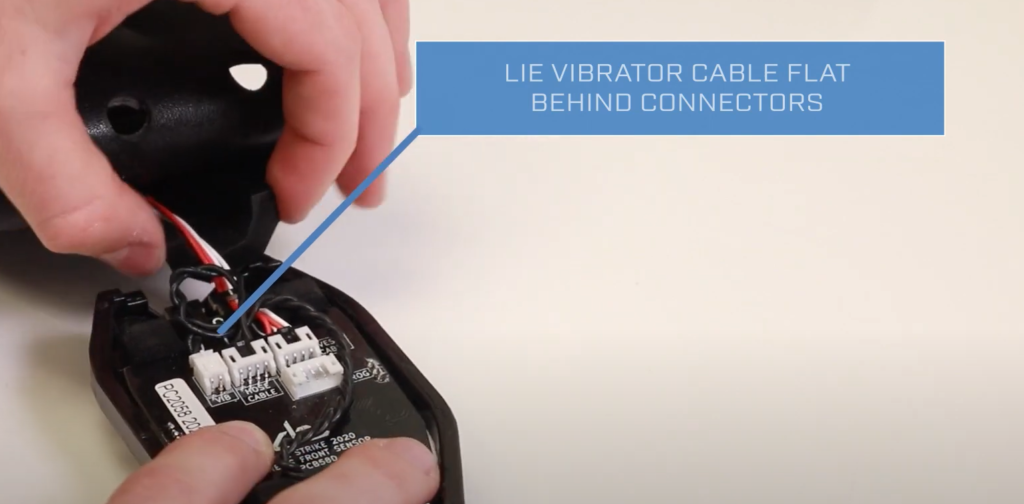
Ensure that the cables are tucked nicely at the top of the assembly before screwing the back plate on. There should be no cables visible through the holes for the back plate. Screw the back plate back on to the sensor.

 Game Reports
 Equipment Diagnostics
 Order Parts
 Support
 Users
Users
