Game Reports
 Equipment Diagnostics
 Order Parts
 Support
 Users
Users

Sign in with the manager login details
Go to the “Control Panel” tab at the top of the page, then click Firmware on the left side of the page


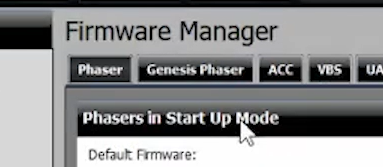
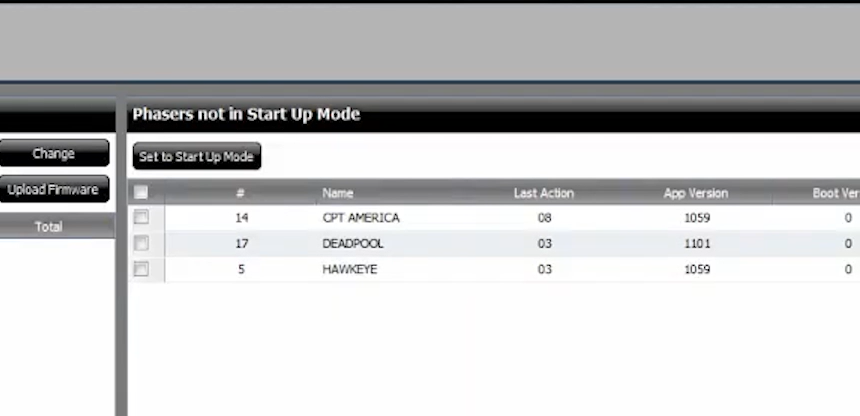
Click the “Genesis Phasers” button near the top.
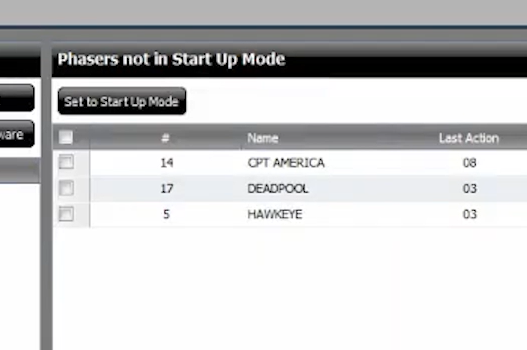
Select the phasers you would like to update from the right hand panel, then click “Set to startup mode“.
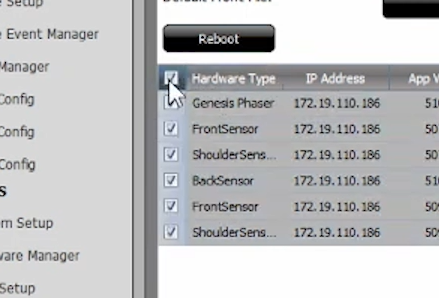
In the left hand panel, each of the 6 components from each vest should now appear as individual entries in the list.
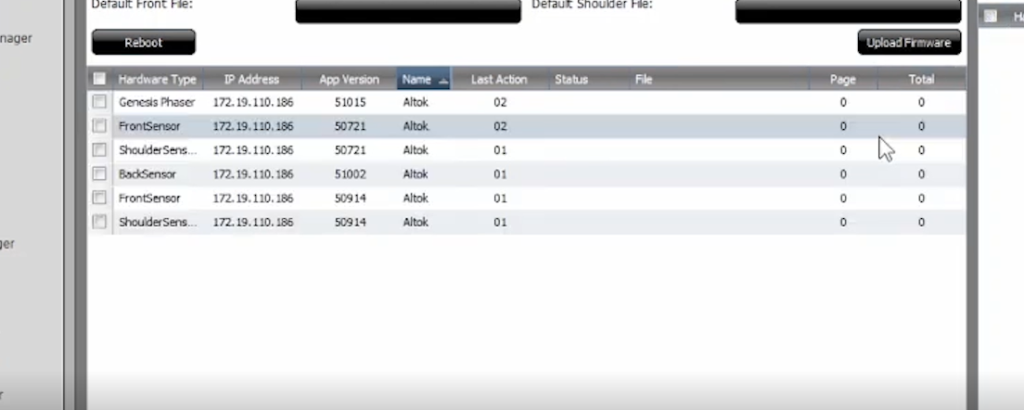
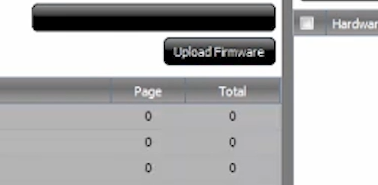
Click the checkbox at the top to select all, or click each individual component you would like to update. When you have made your selection, click “Upload Firmware“.
The game manager will now put these components into a queue and upload the firmware a few items at a time.
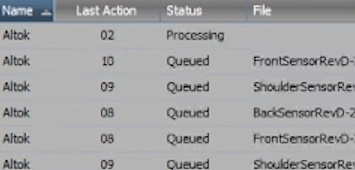
Once a phaser has been uploaded, it will take a few minutes to install the new firmware. Once it has completed successfully, the phaser should return to the mode it was in before (usually charge or pregame). Completed phaser firmware installs will appear back in the right hand panel.
If the phaser is stuck on “UPLOADED” there may have been a problem during the upload or install. You can tell there is an issue if the time in “Last Action” is over 3 or 4 minutes. This means that the phaser has not communicated with the server in that amount of time.
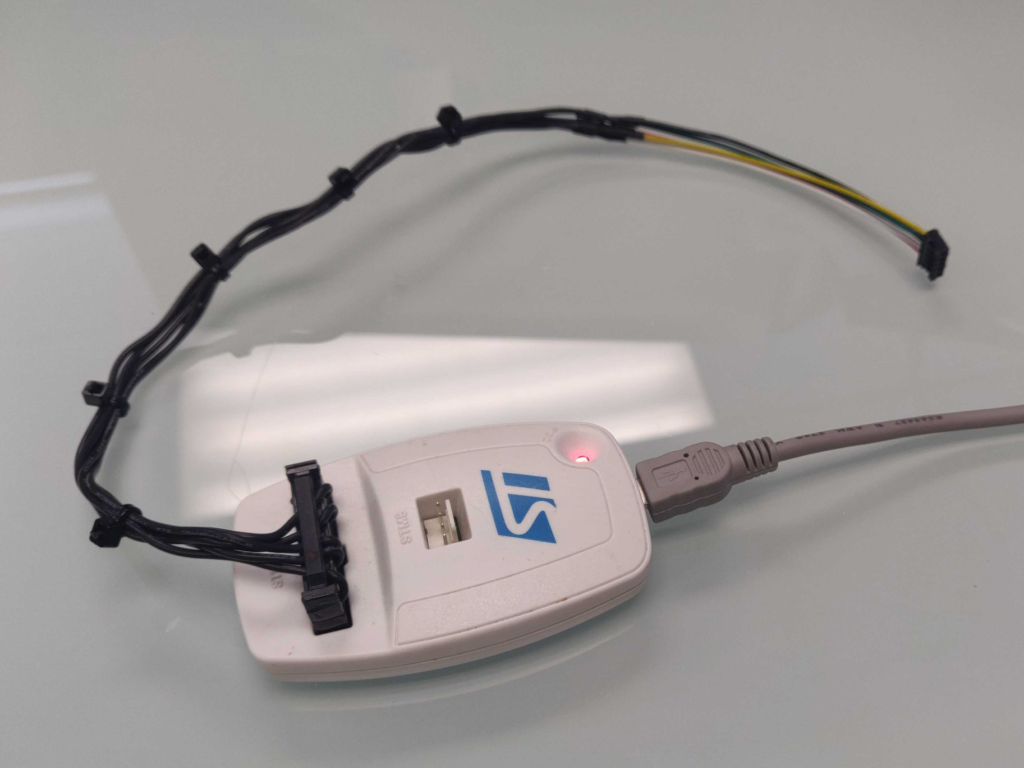
To fix this, you may have to manually upload the phaser firmware using the STM32 Cube Programmer. Click here to see the instructions on how to do this.