*Video goes here*
Using the remote to start and manage your games is how most sites operate. This is the best way to have fun, seamless interaction with your players while still having full control over the game.
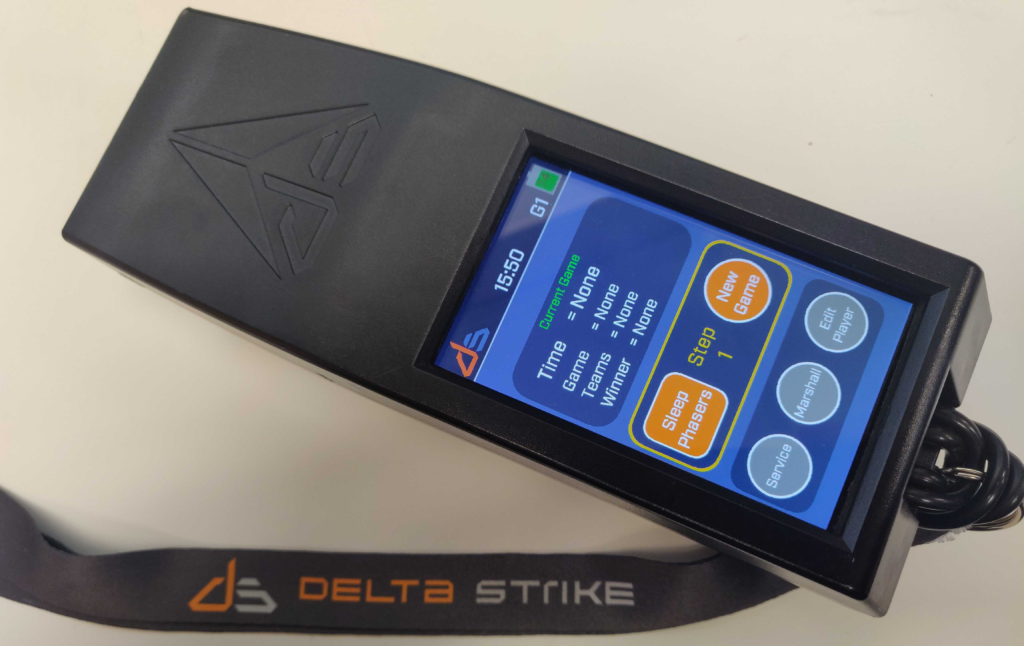
Basic Operation – How to use the remote to start a game
Before beginning a game, have all players select a phaser, help them put it on if needed, and pull the trigger.
To start a game, tap on New Game.
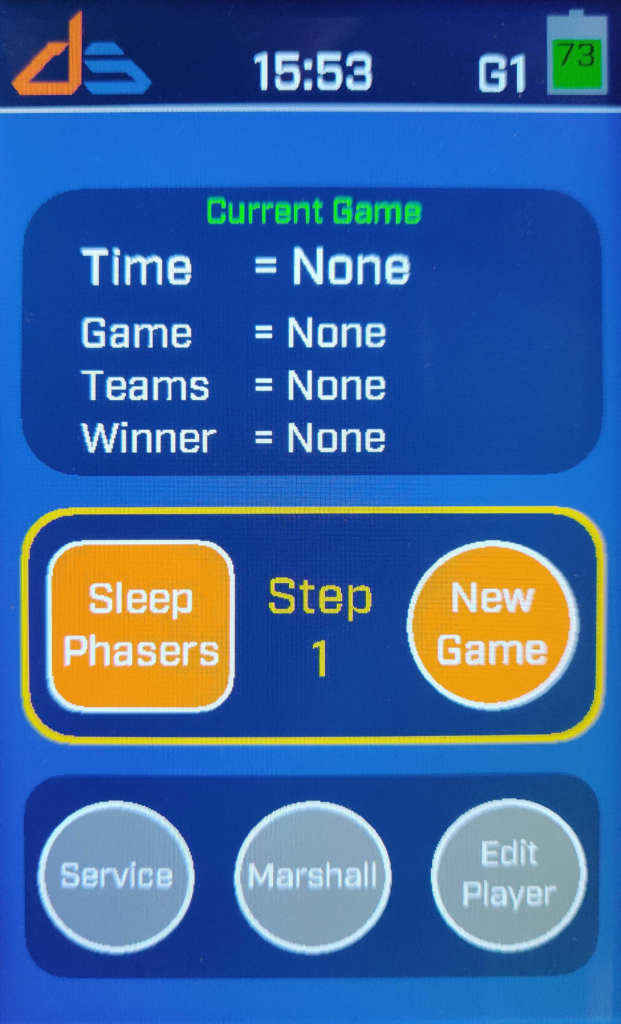
Select the game you would like to run.
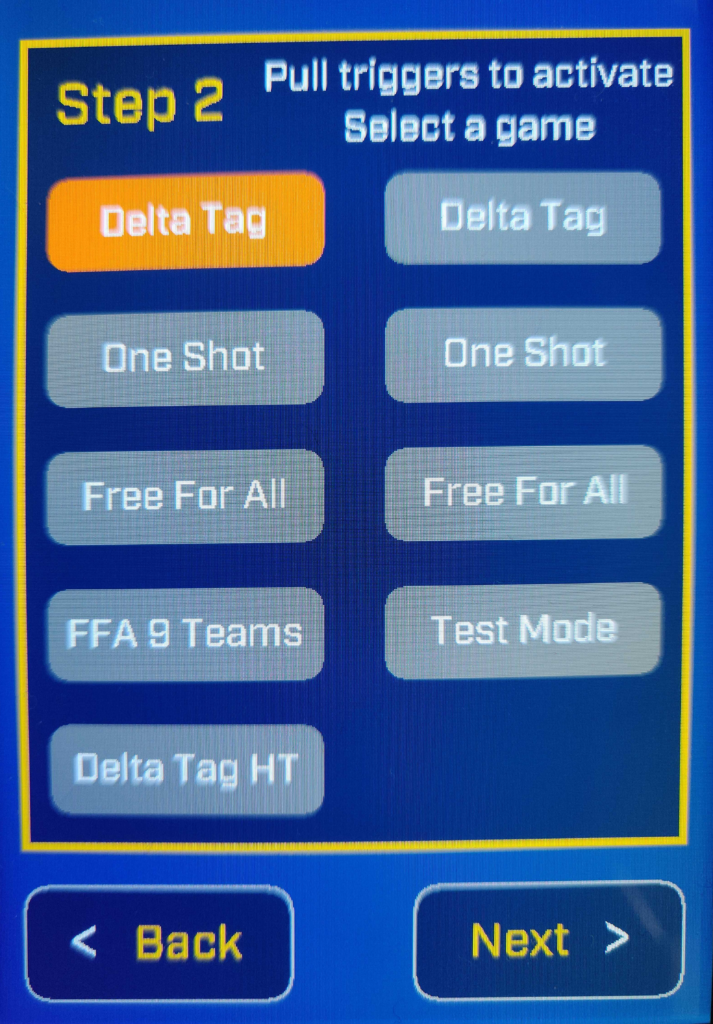
On this final screen, you can set players to specific teams by aiming the remote at a sensor and pressing the R, G, or B buttons. For more color options, you can press More Player Options.
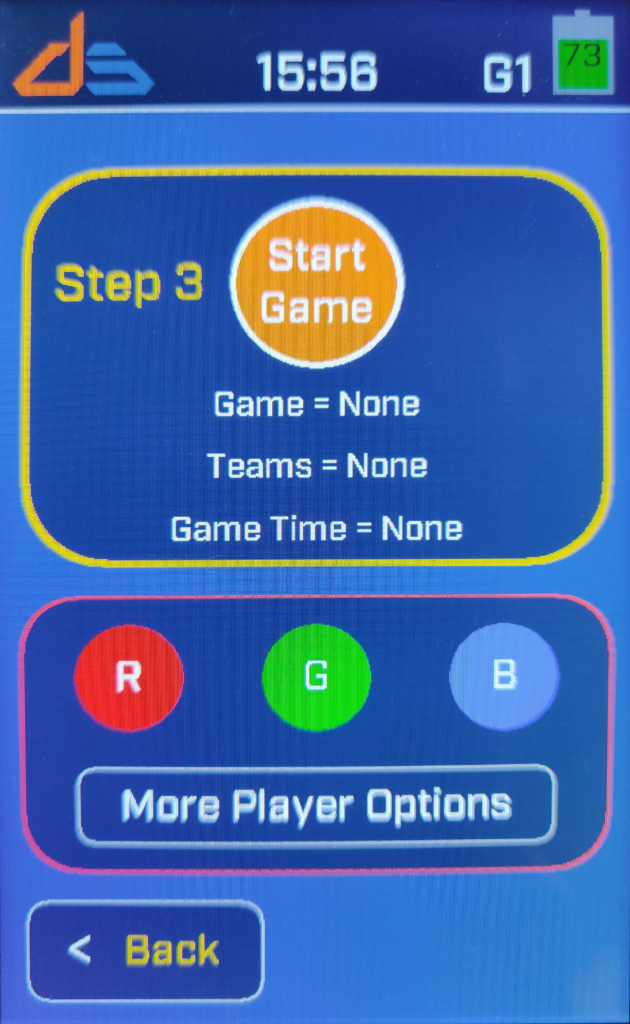
To change a player’s team color, ensure you are aiming the remote at the vest you want to change when pressing the button.
Helpful Tip: Any IR (infrared) function on the remote can be quickly applied to multiple phasers by “sweeping” the IR beam across the phaser you would like to control.
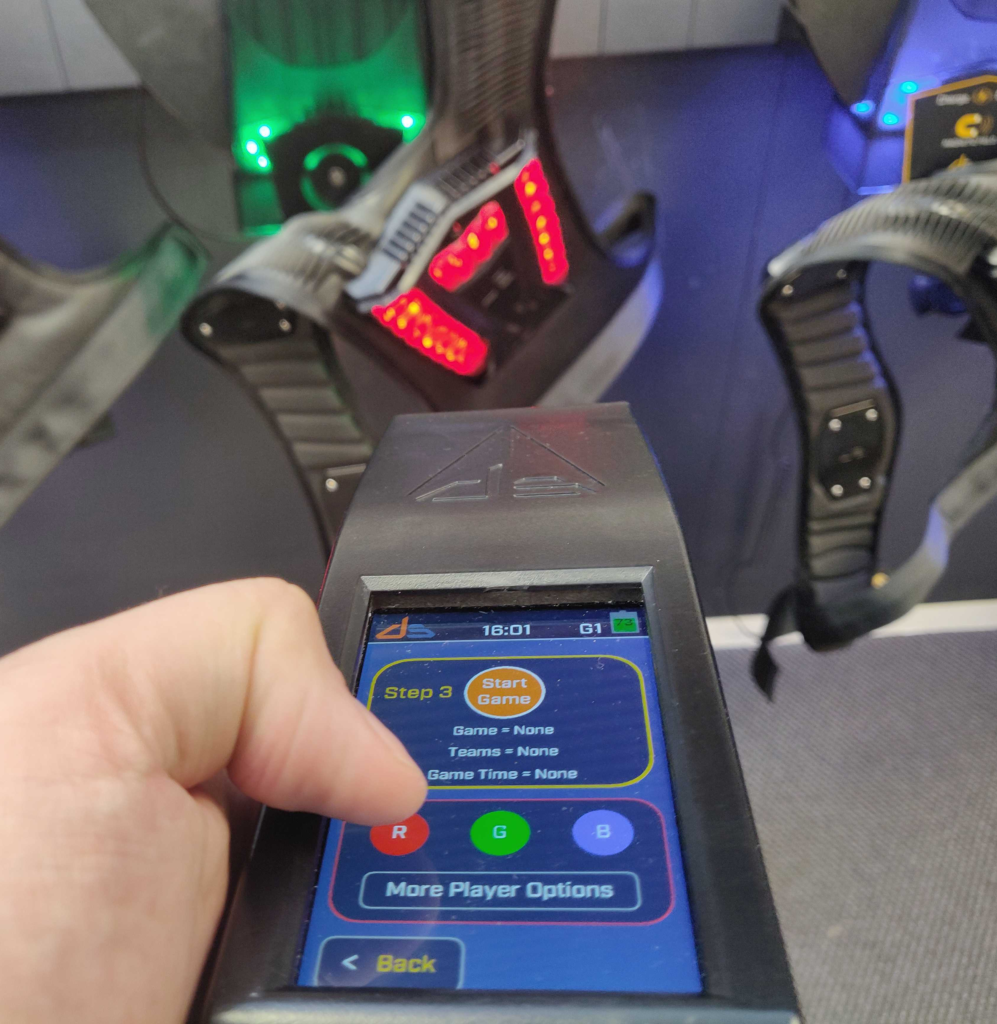
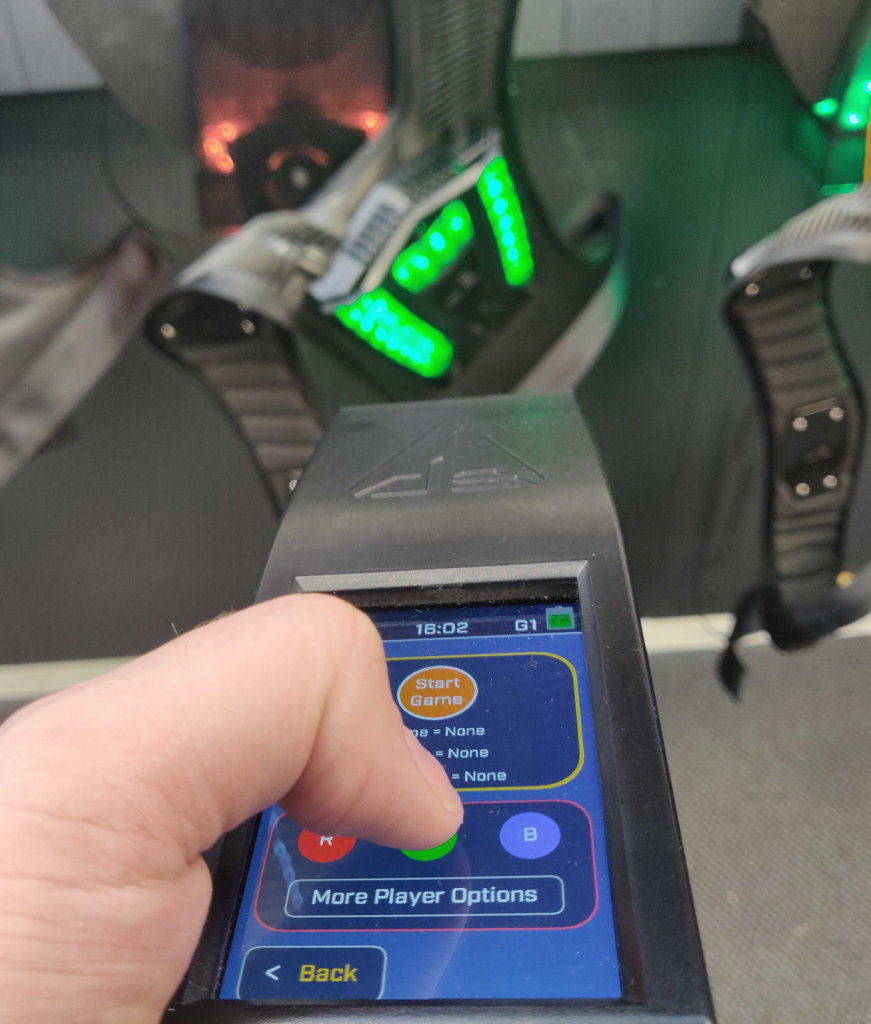

Once the teams colors are set and the players are happy, press Start Game and the game will begin after a short countdown.
When the game has finished, please tap Sleep All to bring the phasers out of the postgame and into sleep mode.
Player Options, More Colors
On the first screen, there are a few other options that starting a new game. You can edit player settings and change their color to more options that than just Red, Green, and Blue. To do this, tap on Edit Player (This can also be done in the last screen before starting a game).
Because briefing rooms are usually dark, there is a flashlight on the remote that you can activate by tapping on the Delta Strike Logo.
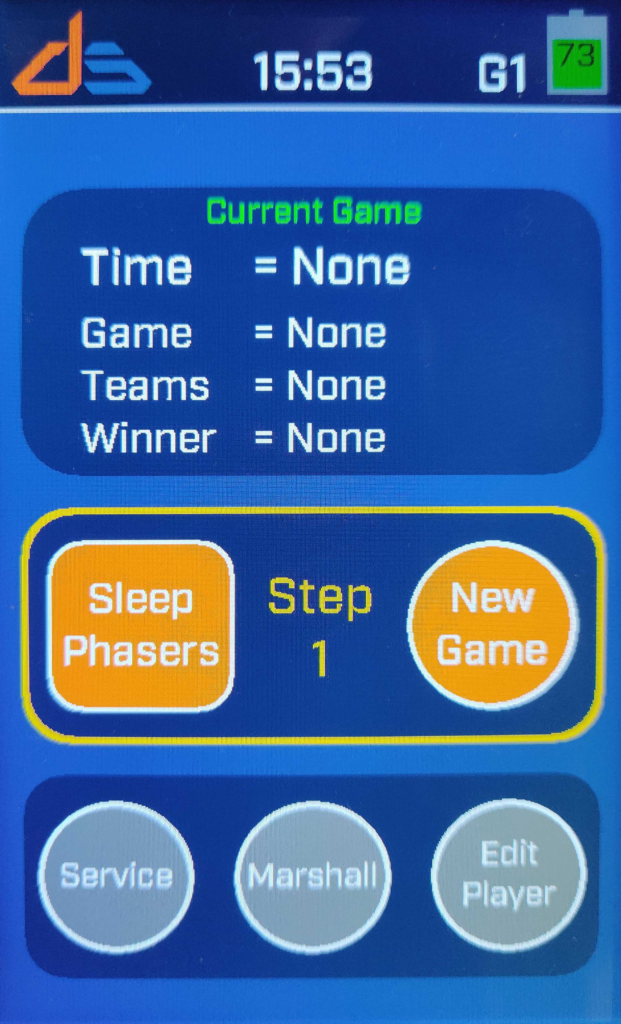

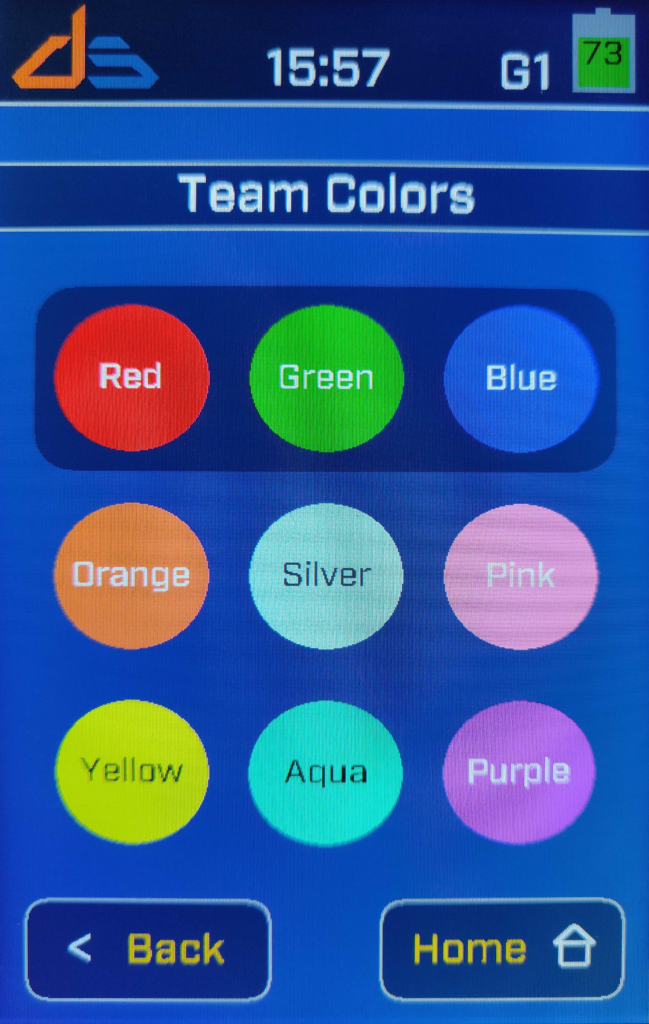
Single Hand Mode: This mode allows the phaser to be fired without needing the player’s hand to be resting under the hand sensor. This is used to help younger or disabled players have a better game experience.
Friendly Fire Mode: Not normally used, if you would like to have a game with friendly fire on, it is best to change this in the Game Manager instead of setting all players using the remote.
All Team Colors: Tapping on All Team Colors will take you to the screen in figure 2 above. This mode gives you more options for team colors. To set one of these colors, aim the remote at the vest and press the button of the color you would like to give the player.
Phaser Groups
Another hidden feature on the remote is that you can set phasers to other groups. This is usually used if you have multiple arenas and want to control different groups of players.
By selecting the G1 by the battery this will bring you to a Group menu. Select the group you would like to use, choose Confirm. Point the remote at the phaser/s and select ‘Reset Phaser With Group X’. This will set the phaser to a new group.

Choose the Back button and proceed with starting the game as normal. When a game is over the phaser will stay in that group until you set it back to the default Group1.
Advanced Operations
Sometimes during a game, a player may have an issue with their equipment. Where possible, get them to use a different phaser, and for that player to pull the trigger to bring them into the pregame mode. You can add them to the currently running game by going into the Marshall screen, aiming the remote at the player, then tapping Game Start.
You can also use this mode to remove players from the game with Game End, as well as put individual phasers to sleep.

From this Marshall Screen, you can also end the game for vests that aren’t working properly. If required, you can also pause players if they need to be stopped and spoken to during the game. You can also stop the game using this screen using Stop Group 1 or Stop All. The View Scoreboard function is also useful for ensuring that all the players in the game are able to score points. Players unable to score points may not even know it.
Service Screens
Outside of using the remote to start and manage games, you can also use it to manage phasers for maintenance and repair.
Service:
Set Phaser to Config Mode: Sets the phaser you are aiming at to go to the engineering menu. Useful for when you don’t have a Genesis Key on hand.
Reset Phaser: Resets the phaser you are aiming at back into the pregame mode.
Reboot Phaser: Power cycles the phaser. Useful for doing a few phasers at once.
Switch Off Phaser Battery: Powers off the phaser battery until the charger cable is plugged in.


Advanced Service:
Arena Details and Group Details are used very rarely if at all.
Remote Config Menu: Will take you to the remote’s engineering screen. Please only use this function when asked by support.
Activate Network:
To activate the network enter the Remote Config Menu. Once in the menu select Network. Your settings should be as follows.
- SSID: deltastrike
- Passphrase: rev01uti0n
- DHCP: 1
Once settings are cofirmed select Next 3 times until you are on the Static IP Setup. In here select the IP Address. Set your remotes ip to 172.19.103.1 and 172.19.103.2. Once done select Next again and Activate at the bottom. After a few seconds the remote will connect to the server. If the remote does not connect please see check this article on repairing the remote.
If you need further assistance please contact Delta Strike Support at 888-538-2519 Ext1 or submit a help ticket on portal.deltastrike.com under the Support tab.

 Game Reports
 Equipment Diagnostics
 Order Parts
 Support
 Users
Users
