 Game Reports
 Equipment Diagnostics
 Order Parts
 Support
 Users
Users

You can update the firmware of a phaser/vest manually using a data cable. Reasons for doing this could be that the network firmware update failed part way through, or there is an issue with a specific phaser PCB.
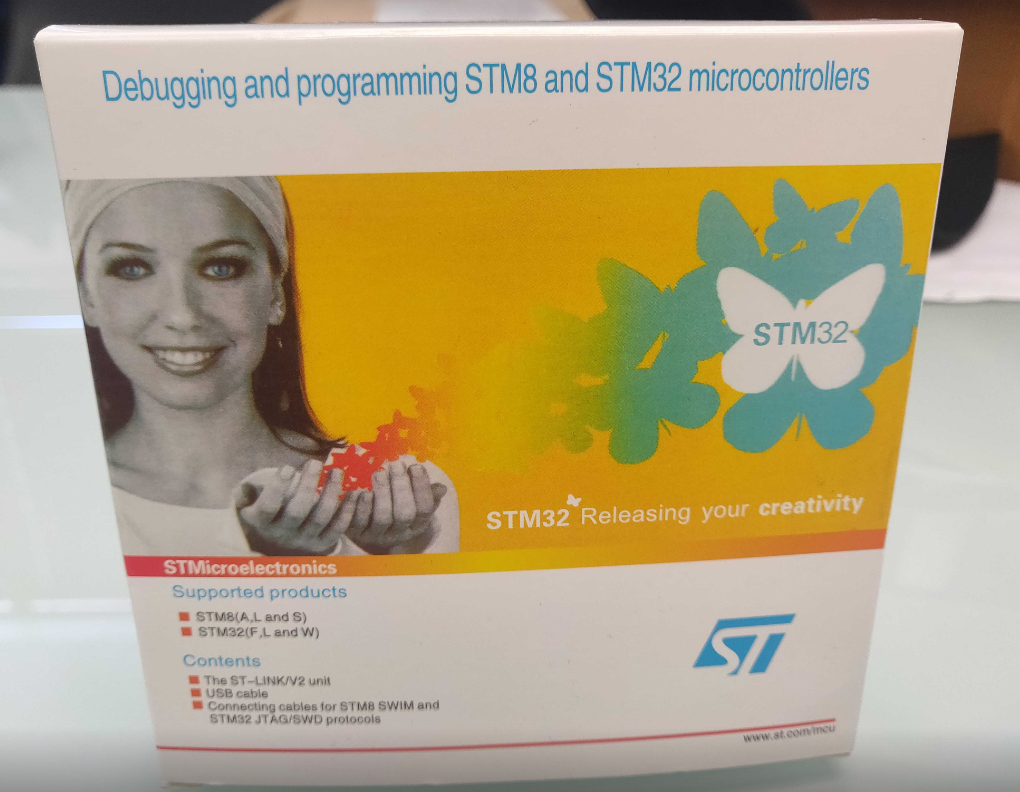
The Main PC you use for the Delta Strike game server should already have the software to use the STM Programmer, but if not, download it from here.
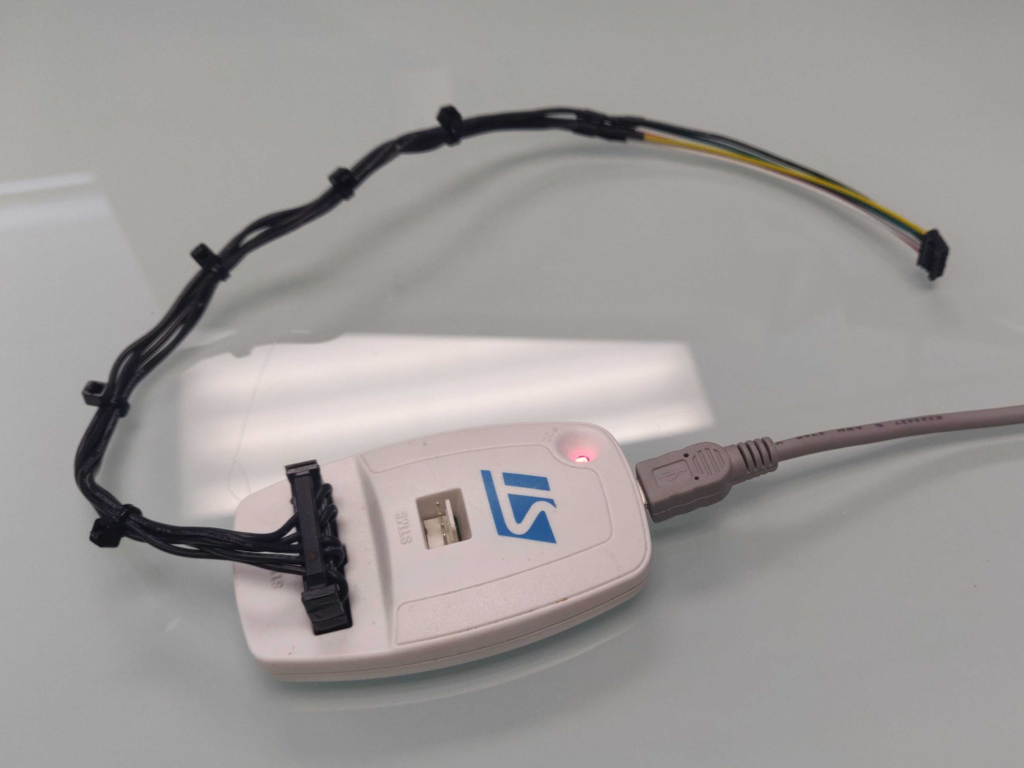
To use the Programmer, plug in the USB cable to your computer.
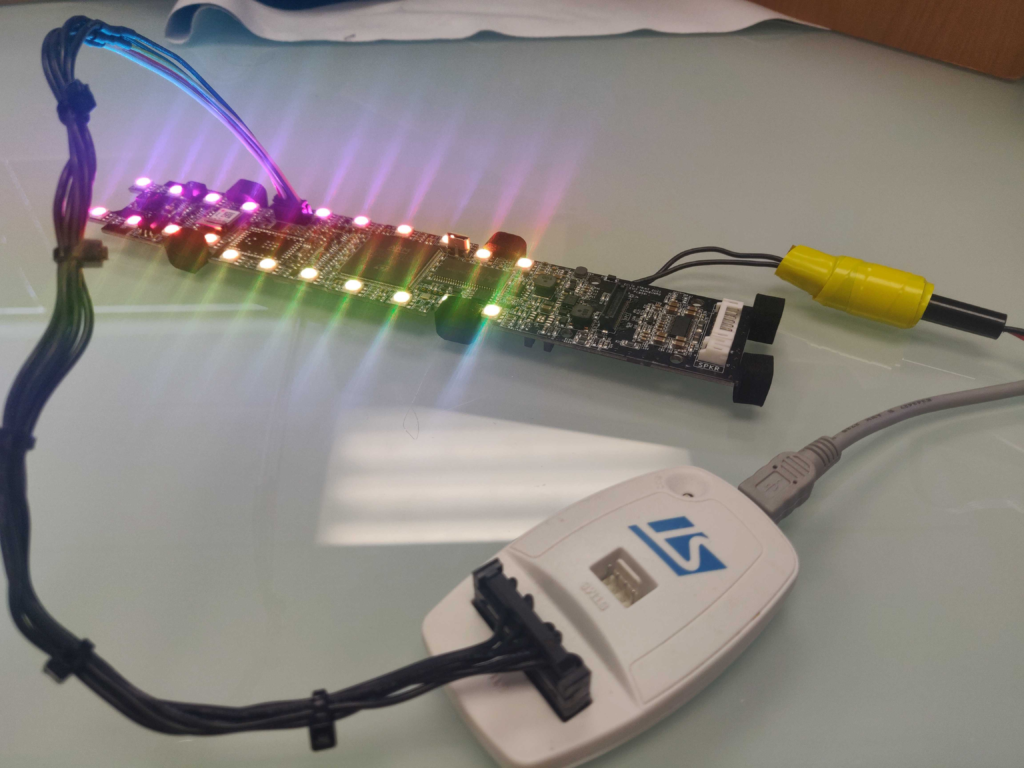
Plug in the data cable into the 5 pin connector on the PCB you wish to program.
Ensure the PCB component you want to program is powered on.
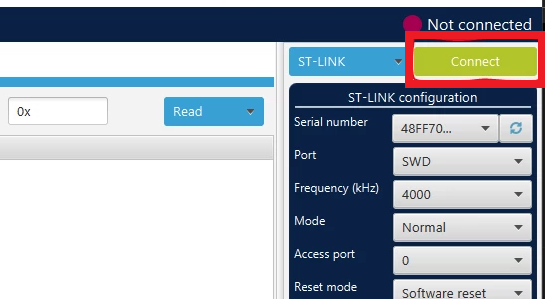
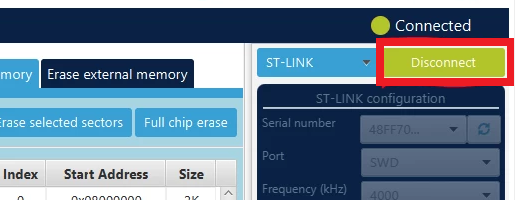
Open the STM32 Programmer app, click on connect. Once you are connected, the options below the connect button should turn grey. If it does not connect try unplugging the programmer from the PC and plug it back in. If it still fails to connect then the PCB will need replaced.
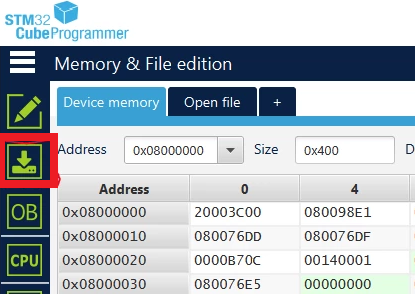
If the device connects, click on the programming icon that looks like an arrow pointing down onto a square. The menu is called Erasing & Programming.
Click on Browse.
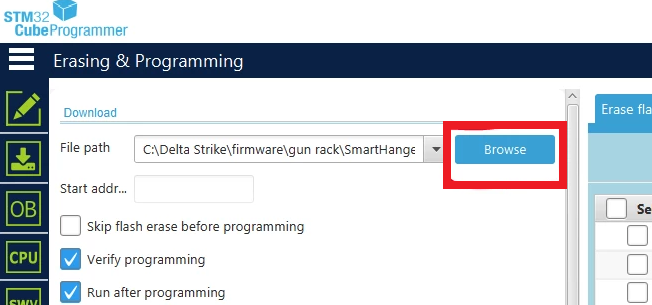
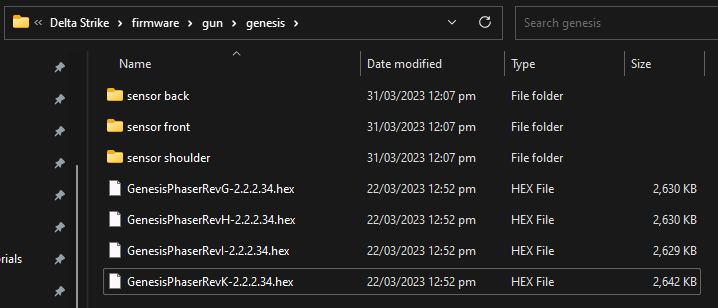
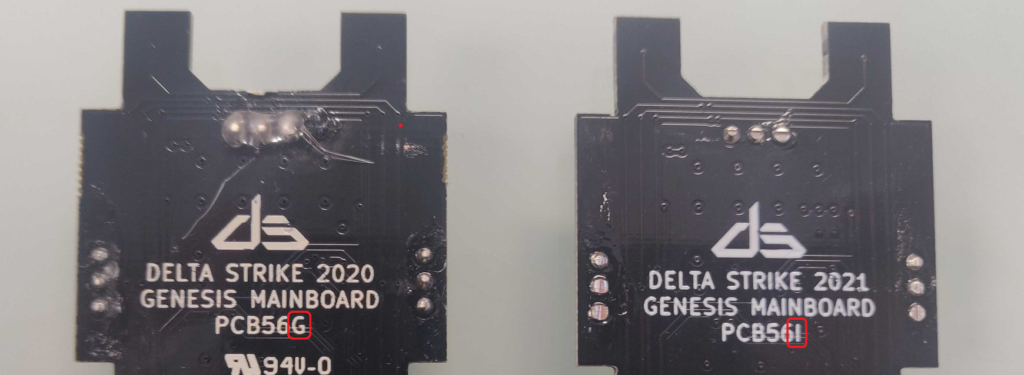
Find the folder containing the different firmware (C/Delta Strike/firmware/gun/genesis). Select the appropriate file based on the PCB component type and revision marked on the back of the PCB. If the firmware folder is missing, please contact support.
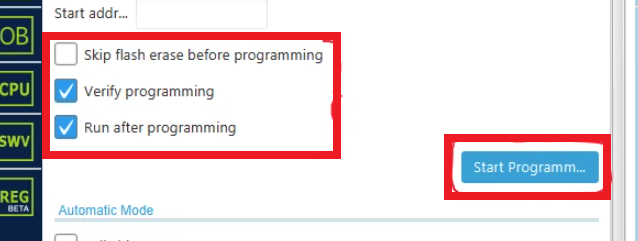
Make sure the check boxes are the same as the picture below.
Click ‘Start Programming’. The PCB will program then start up.
Click OK out of the popup windows.
Finally, click on disconnect.
Unplug the cable from the PCB and reassemble the phaser/component.